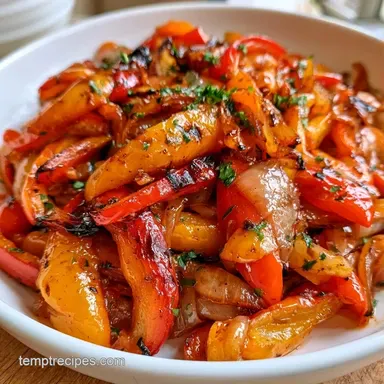
Charred Bell Peppers Sauteed
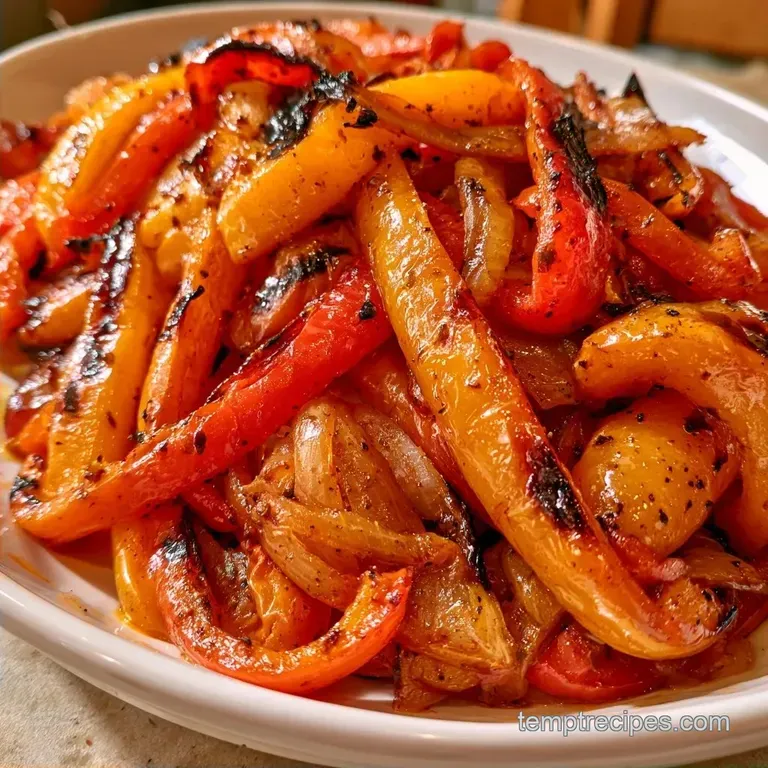
- Time: 5 minutes prep + 15 minutes cooking
- Profile: Smoky, charred, and tender-crisp
- Best as: Effortless weeknight sides or taco fillings
Bell Peppers Sauteed for Easy Sides
The smell of sizzling peppers and onions always reminds me of those frantic Tuesday nights. I used to be terrified of my stove, usually sticking to low heat because I didn't want to deal with the smoke or the mess.
I’d end up with these sad, limp vegetables that tasted more like they were boiled than sautéed. It was a total drag.
Then I stopped playing it safe and cranked the heat. I realized that if you let the peppers sit still in a hot pan, they develop this deep, mahogany color that tastes like a steakhouse side. It's a huge difference.
These Bell Peppers Sauteed aren't just a side dish, they're the part of the meal everyone actually wants to eat.
You can expect a dish that hits that sweet spot between softened and crunchy. It's a hearty, comforting addition to any plate that doesn't require a bunch of fancy gear. Right then, let's crack on with how to get it right.
Why High Heat Works
Most people make the mistake of stirring too much or using medium heat. When you do that, the peppers release their water and just steam in the pan. You lose the char.
- High Heat
- Fast cooking prevents the veg from getting mushy and creates a charred exterior.
- Onion Timing
- Sautéing onions first builds a savory base that the peppers then soak up.
- Late Seasoning
- Adding spices at the very end stops the garlic powder from burning and turning bitter.
If you're looking for a way to use up your produce, you might also like a Stuffed Bell Peppers recipe for a more filling meal.
Quick Recipe Specs
By cooking quickly over high heat, this recipe preserves nutrients and ensures a bold flavor. It's an easy method for getting a vegetable on the table in under 20 minutes.
| Goal | What to change |
|---|---|
| Extra Char | Use a cast iron skillet |
| Softer Veg | Cook 3 mins longer |
| Lighter Oil | Use avocado oil |
The Shopping List
Get a mix of colors for the best look. Red and yellow peppers bring a different kind of sweetness than green ones, which can be a bit more bitter.
| Ingredient | What It Does | Best Swap |
|---|---|---|
| Red Bell Pepper | Adds sweetness | Orange bell pepper |
| Yellow Bell Pepper | Adds brightness | Green bell pepper (more bitter) |
| Yellow Onion | Savory depth | White or red onion |
| Olive Oil | Conducts heat | Grapeseed oil |
The Produce
- 2 large red bell peppers (approx. 450g), sliced into ¼-inch strips
- 1 large yellow bell pepper (approx. 225g), sliced into ¼-inch strips
- 1 medium yellow onion (approx. 170g), thinly sliced
The Seasoning
- 2 tbsp extra virgin olive oil
- ½ tsp kosher salt
- ¼ tsp cracked black pepper
- ½ tsp garlic powderWhy this? Doesn't burn as fast as fresh garlic
- ¼ tsp smoked paprikaWhy this? Adds a woody, grilled flavor
Essential Tools
Any standard home setup works, but your choice of pan is important. Non-stick pans are fine, but stainless steel or cast iron achieves a better brown on the vegetables.
- 12 inch Skillet: A wider pan prevents overcrowding, which is the primary cause of steaming.
- Sharp Chef's Knife: Crucial for achieving consistent ¼-inch strips.
- Cutting Board: Use a spacious one to keep your sliced peppers organized.
- Tongs or Spatula: To toss the vegetables quickly at the end.
The Cooking Process
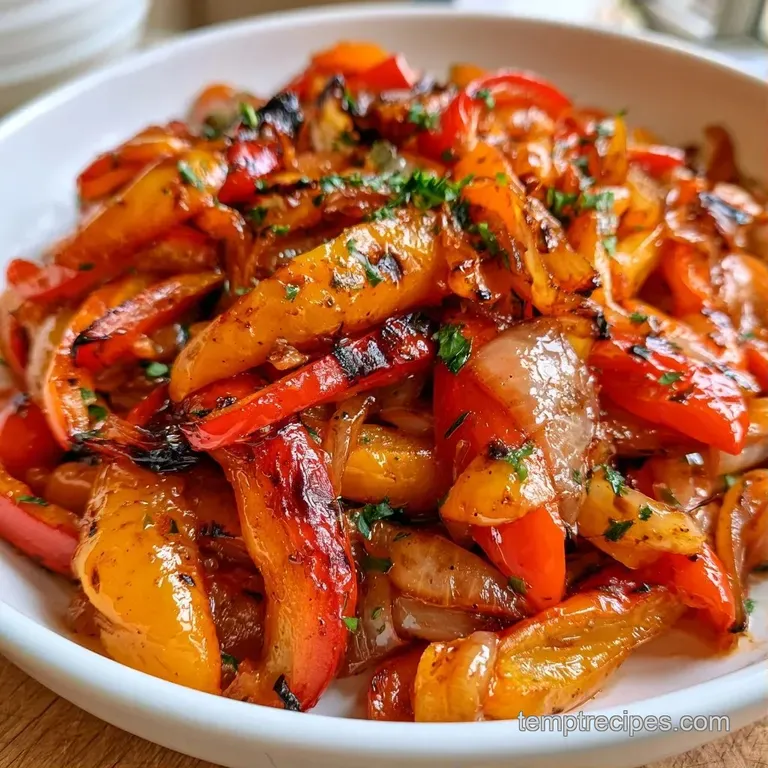
Temperature management is the secret here. We'll utilize medium high for the onions and switch to high for the peppers.
Phase 1: The Uniform Prep
Cut the red and yellow bell peppers and the onion into matching ¼-inch strips. Note: Uniform sizes ensure they all reach doneness simultaneously.
Phase 2: Searing the Aromatics
Bring olive oil to a shimmer over medium high heat. Toss in the sliced onions. Sauté for 3-4 minutes until translucent with golden brown edges.
Phase 3: The over High heat Sauté
Crank the heat to high. Arrange the pepper strips in a single layer. Let them sear undisturbed for 2-3 minutes until you see a dark char on the bottom. Stir the peppers and continue cooking for 5-7 minutes until tender crisp.
Phase 4: The Final Seasoning
Add the salt, black pepper, garlic powder, and smoked paprika. Toss quickly for 60 seconds to toast the spices and take the pan off the heat immediately.
Fixing Common Problems
The biggest issue people face with Bell Peppers Sauteed is the "steam effect." If your pan is too small or the heat is too low, you'll get boiled peppers instead of charred ones.
Fixing Steamed Peppers
This happens when the pan is too crowded. The moisture from the vegetables has nowhere to go, so it creates a cloud of steam. This keeps the temperature too low for browning.
Managing Burnt Onions
If the onions turn black before they get soft, your oil was too hot or the heat was too high too early. Keep them on medium high until they are translucent.
Correcting Bland Flavor
If the dish feels flat, it's usually a lack of salt or the paprika didn't toast. The 60 second toss at the end is what wakes up the seasonings.
| Problem | Fix |
|---|---|
| Peppers are mushy | Reduce cook time by 2 mins |
| No brown char | Increase heat and don't stir |
| Spices taste raw | Toss on high heat for 60 secs |
Simple Flavor Swaps
Once you have the basic method down, you can change the vibe of the dish with a few tweaks. These are great for using what you already have in the pantry.
The Italian Style
Swap the smoked paprika for dried oregano and add a splash of balsamic vinegar at the very end. This creates a tangy, savory side that pairs beautifully with grilled chicken or a Pepper Pasta for 6 recipe.
Making It Spicy
Add a pinch of red chili flakes or a diced jalapeño along with the onions. The heat from the pepper infuses into the oil, giving the whole dish a kick.
Butter Free Options
While olive oil is standard, avocado oil has a higher smoke point. This is helpful if you really want to push the heat to get a heavy char without the oil smoking too much.
Storage and Waste
These stay fresh in the refrigerator quite well, though they may lose some of their crispness over time.
Fridge and Freezer Store the peppers in an airtight glass jar for 3-4 days. For larger quantities, they can be frozen for up to 2 months. To reheat, avoid the microwave and instead use a hot skillet for 2 minutes to restore the texture.
Kitchen Sustainability Save the seeds and stems rather than discarding them. Place them in a freezer bag along with other vegetable trimmings. Once you've collected enough, simmer them in water to create a light vegetable broth.
Additionally, any remaining sautéed peppers are an excellent addition to a morning omelet.
Serving and Enjoyment
These Bell Peppers Sauteed are incredibly versatile. Because they have that smoky, sweet profile, they work as both a side and a main component.
The Steakhouse Side Serve these next to a seared ribeye or sirloin. The sweetness of the red peppers cuts through the richness of the beef.
The Gourmet Taco Filler Pile these into corn tortillas with some black beans, avocado, and a squeeze of lime. It's a satisfying, stress free vegetarian dinner.
The Pasta Topper Toss them into a bowl of penne with some parmesan and a drizzle of olive oil. It's a quick way to add volume and nutrients to a simple pasta night.
Common Cooking Errors
The biggest gap in most recipes is the timing of the seasoning. Many guides tell you to season at the start. But garlic powder and paprika can burn if they sit in high heat for 10 minutes.
The Overcrowding Error: When you pile peppers on top of each other, you create a moisture trap. Use a 12 inch pan or work in two batches. This ensures every strip hits the metal.
The Stirring Urge: It's tempting to keep the food moving. But for Bell Peppers Sauteed, the magic happens in the stillness. That 2-3 minute window of not touching the pan is what creates the flavor.
The Temperature Drop: Adding cold vegetables to a pan that isn't shimmering will drop the temp instantly. Wait for the oil to almost smoke before the onions go in. This ensures the sear starts the second the food hits the pan.
Recipe FAQs
Which fat is better for sautéing bell peppers?
Olive oil is the best choice. It handles the high heat needed for charring without burning.
What seasonings work best for this dish?
Use a blend of salt, black pepper, garlic powder, and smoked paprika. These spices toast quickly in the pan to add smoky depth.
Are roasted peppers superior to sautéed ones?
Both are great, but sautéing is faster and preserves a tender crisp texture. If you prefer a deeper charred flavor, you might enjoy our roasted red pepper technique.
How long should bell peppers cook in the pan?
Sauté the pepper strips for about 7 to 10 minutes total. Let them sit undisturbed for 2-3 minutes first to develop a char.
Can I combine bell peppers with onions?
Yes, adding sliced yellow onions creates a classic flavor pairing. Sauté the onions for 3-4 minutes until translucent before adding the peppers.
How do I sauté bell peppers for the best results?
Heat olive oil over medium high heat in a skillet. Cook the onions first, then sear the peppers on high heat until tender crisp.
Is it true that bell peppers must be cooked until soft?
No, this is a common misconception. Cooking them until tender crisp keeps the vibrant color and a satisfying snap.
Does freezing sautéed peppers ruin them completely?
False. You can store them in the freezer for 2 months, though reheating in a skillet is necessary to restore the texture.
Sauteed Bell Peppers